Salam de biscuiti

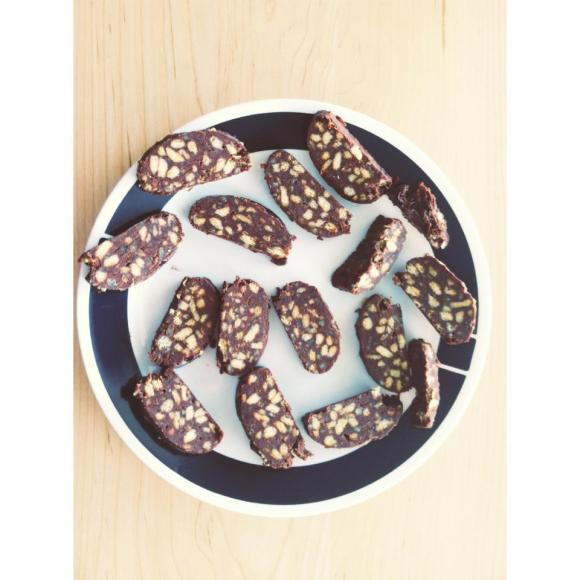
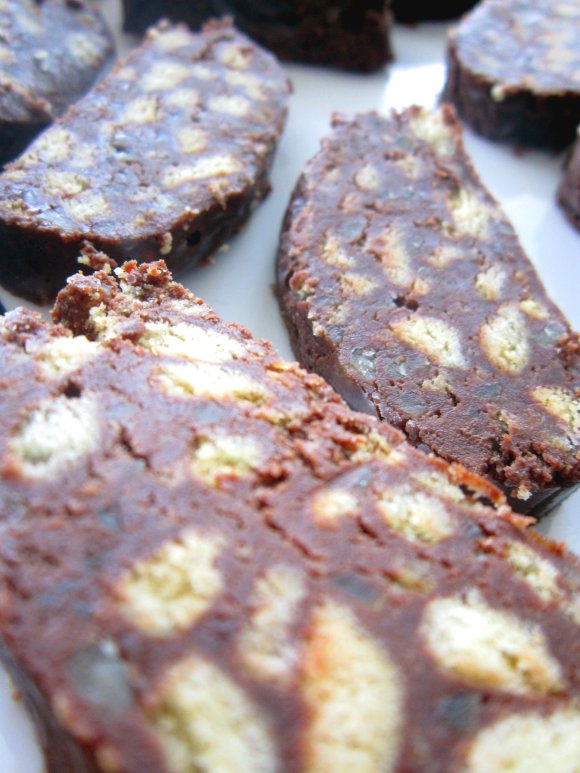
Salam de biscuiti is a traditional Romanian dessert and translated, it literally means cookie salami, simply because the cookies and cocoa look like a salami, but much sweeter. I have been wanting to make something sweet for a long time, but I stray away from overtly sweet pastries because too much sugar, for me, is not appetizing. So, since I am Romanian, I figured it would be a fun experiment if I could make one of my favorite desserts. I quickly googled the recipe (in Romanian, of course), and thankfully, I am quickly learning how to read better and better in my native language. It was truly a fun recipe to make and very easy. I began to make it at eleven in the evening and I was done within 30 minutes. Plus, this brings back so many memories of my grandmother making it for me the many times she would visit us…

INGREDIENTS:
(all measurements are converted from metric, thus why the exact measurements.)

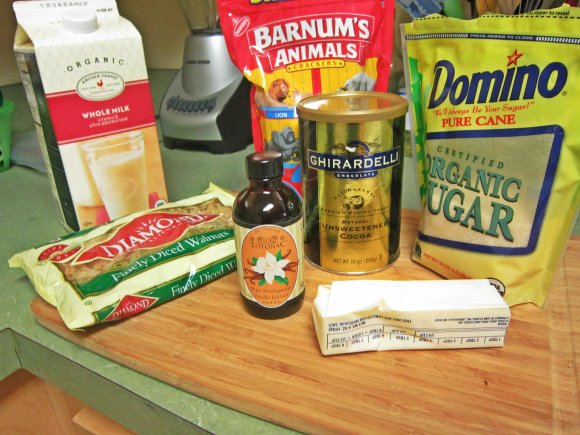
1.087 cups of plain biscuits (preferably animal crackers since they are naturally sweet)
1.087 cups of organic cane sugar
1 cup of unsalted butter
1/4 cup of cocoa (preferably unsweetened or natural hot chocolate mix)
1/4 and a little bit of toasted walnuts
1.25 cups of whole milk
1 teaspoon of pure vanilla extract  

Image

PREPARATION:

Crush crackers by hand to obtain small pieces. Add the nuts and mix together.
In a saucepan put 1/4 of milk and sugar and cook until syrup is bound (approximately 1 minute after the syrup begins to foam).
Add butter and stir until melted.
Add cocoa (and coffee if using) dissolved in 1/4 cup of milk. Add the vanilla extract and leave it to a boil.
Set the mix aside. Pour the crackers-walnut mix in a mixing pot. Add the sauce and gradually pour the syrup over crackers, stirring occasionally to see that the biscuits soften a bit.
Roll up tightly to form roll and push from both ends to remove air from the sausage. Closely tied to both ends and give biscuits salami in the refrigerator several hours or overnight. 
Cut biscuits salami slices and serve.

ImageImage

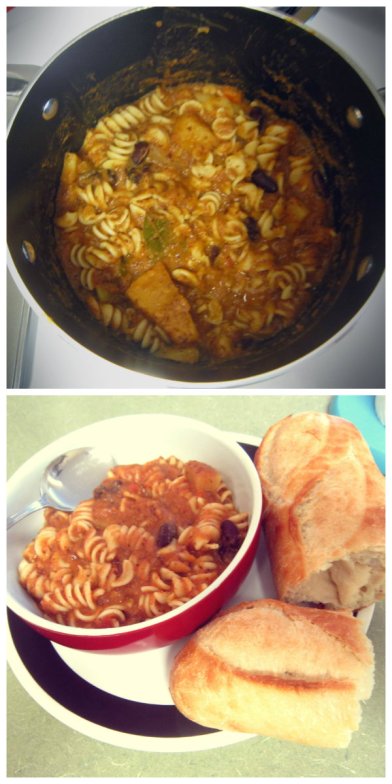
Homemade Hearty Minestrone Soup

I realized that a tremendous amount of time has since passed since my last post, and I offer a thousand apologies for my sporadic posting. In all fairness, I have made simple meals here and there, but with the extraordinary busyness of mid-terms, I just didn’t have the time. I hope that I can make more time to make food, and take pictures, and then post it. I finally had the time this weekend and with the cold weather upon on us now, I seized the moment and made one of my favorite soups: Italian minestrone.

I borrowed the list of ingredients from Giada’s recipe available on the Food Network and swapped the unnecessary amount of work with a slow-cooker. While it did require some additional effort, it surely didn’t compare to laboring in the kitchen for an hour, watching the soup broil and adequately adding ingredients while gauging the process.

INGREDIENTS:

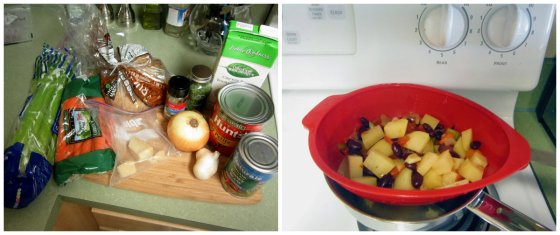
  • 2 tablespoons olive oil
  • 1 onion, chopped
  • 2 carrots, peeled, chopped
  • 2 celery stalks, chopped
  • 3 ounces thinly sliced pancetta, coarsely chopped (optional)
  • 2 garlic cloves, minced
  • 1 russet potato, peeled, cubed
  • 1 (14 1/2-ounce) can diced tomatoes
  • 1 fresh rosemary sprig (I don’t have this in the nearest supermarket, so I simply added rosemary)
  • 1 (15-ounce) can cannellini beans, drained, rinsed (I substituted with organic dark red kidney beans)
  • 2 (14-ounce) cans chicken broth
  • 1 ounce piece Parmesan cheese rind
  • 2 tablespoons chopped fresh Italian parsley leaves (or bay leaves)
  • Salt and pepper

Once you finished washing, dicing, mincing, peeling, and opening the ingredients, add them in the slow cooker and set the lever to LOW for a couple of hours (5-6 should be ample amount of time). Then, you can do your own thing while the ingredients slowly cook. Now, what I particularly enjoy about slow-cookers is not necessarily its convenience, but rather that since it takes a long time for the ingredients to cook, the flavors are mixing so sinuously that the recipe grows in richness, tanginess, and depth. It adds so much flavor to the recipe as they are enveloped in little space. I immediately envision the scene from Ratatouille where tasting certain aromas and flavors unleash a different sensation.

After a couple of hours have passed, remove some of the potatoes, carrots, celery, and beans, and set the aside. Remove the broth and remaining ingredients from the pot and pour them into a blender. Blend until it’s pureed. Then, in a medium-sized pot on low heat, add the puree and let it warm. Afterward, add the beans, potatoes, celery, and carrots you have previously set aside. Stir together until preferred temperature is obtained. If you wish to make the soup more hearty, add some rotini pasta afterwards.

Coconut Limeade Slushie

I am obsessed with all things pertaining to tropical: coconut, lime, mango, and all other fruit that comes to mind. So when I stumbled across a drink that infuses all my favorite flavors, I did not hesitate to concoct the scrumptious beverage. With summer quickly dwindling and veering towards the eve of fall, it was a perfect way to commemorate Summer 2012 with a drink that is the epitome of summer fun.


INGREDIENTS:

For 4 cups
1 cup lime juice (about 10 limes), fresh squeezed
1 cup sweet coconut flakes, packed
2 1/2 cups hot water
1 1/2 cups coconut water (optional, just use regular water if you prefer)
1/4 cup agave nectar
1/2 vanilla bean, scraped (or 1 teaspoon vanilla paste)

Preheat oven to 350 F.  Lightly toast the coconut on a baking sheet, thinly spread out, for about 5-7 minutes, stirring once halfway through. Juice the limes and put all of the used halves into a bowl, along with the coconut and vanilla bean (or vanilla paste), and cover with 2 cups of hot water.  Let it sit for about 10 minutes.  The hot water pulls all of the natural oils out of the lime skins and adds so much flavor. Strain into a blender and add the coconut water, lime juice, and agave nectar.  Blend until just incorporated. Pour into a pitcher and chill in the fridge until ready to serve.

Since I purchased all the aforementioned ingredients with the sole purpose of making this beverage, I soon realized that I would have leftovers. So I decided (rather impishly, I may add) to use everything and have not have some limes left over and have a cup of coconut flakes left. Since the amount I envisioned was exaggerated, there was still a lot of coconut limeade left even after sharing with my roommate and friends. Hearing their comments on how to improve, I decided impulsively to add some ice and make it a slushie. I still had a lot left. So, with the assistance of a Facebook status, a group of 7 people knocked on my door and drank the rest of it. It’s always much more better when I share.

Linguini with Gorgonzola Sauce

If you are in a hurry and you want to eat something hearty enough to fill you up but not quite so that you won’t be hungry until midnight, this is the perfect meal. It is also so quick and easy to do, it will amaze you. Since college is very much about being on the go, this will complement your busy schedule. 

Ingredients:

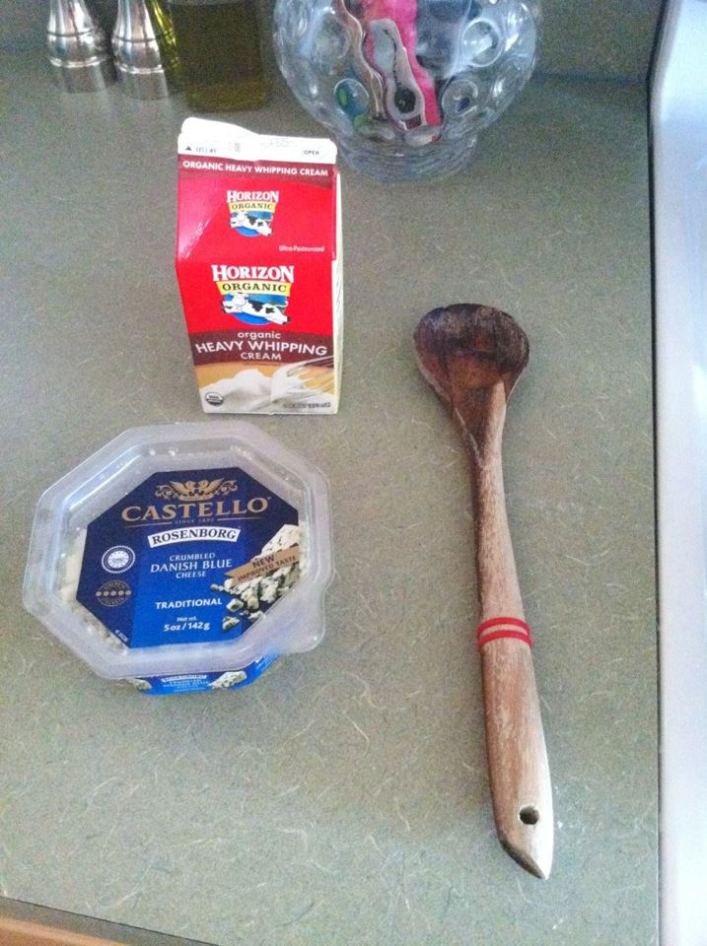
1/4 cup whipping cream

1/3 or 1/2 cup of gorgonzola (or cuisine speak for blue cheese), depending on how viscous and tangy you want the sauce to be.

Image

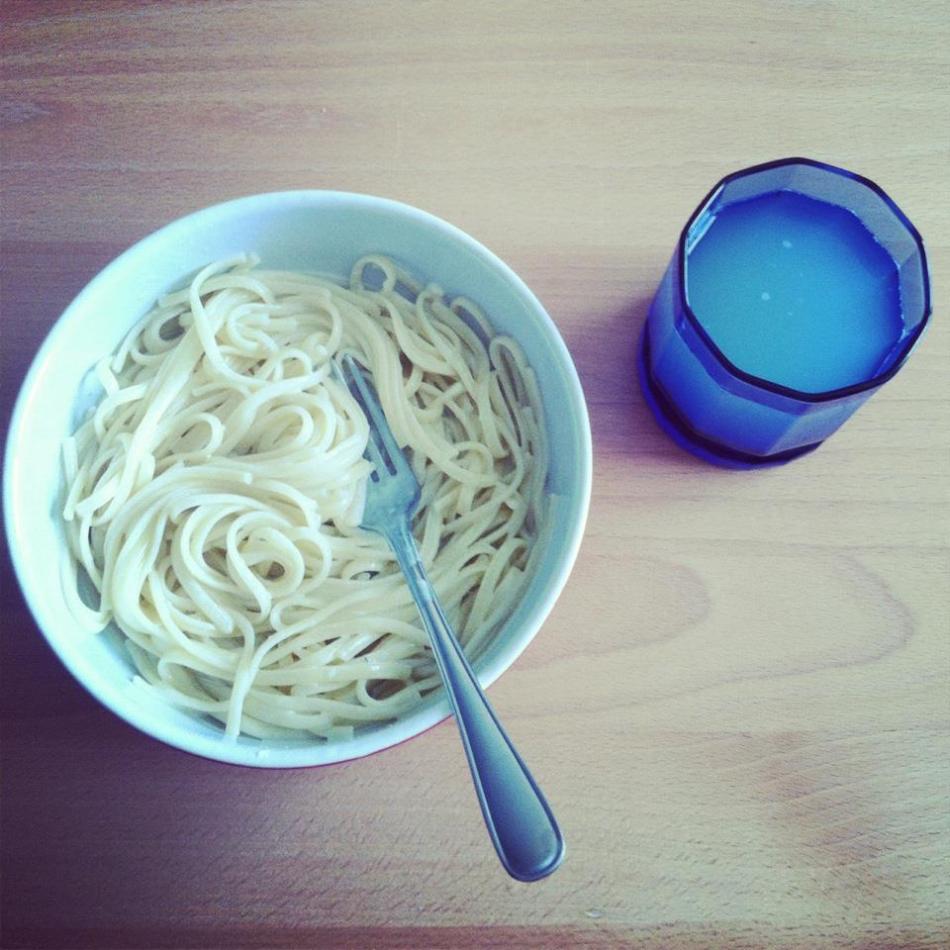
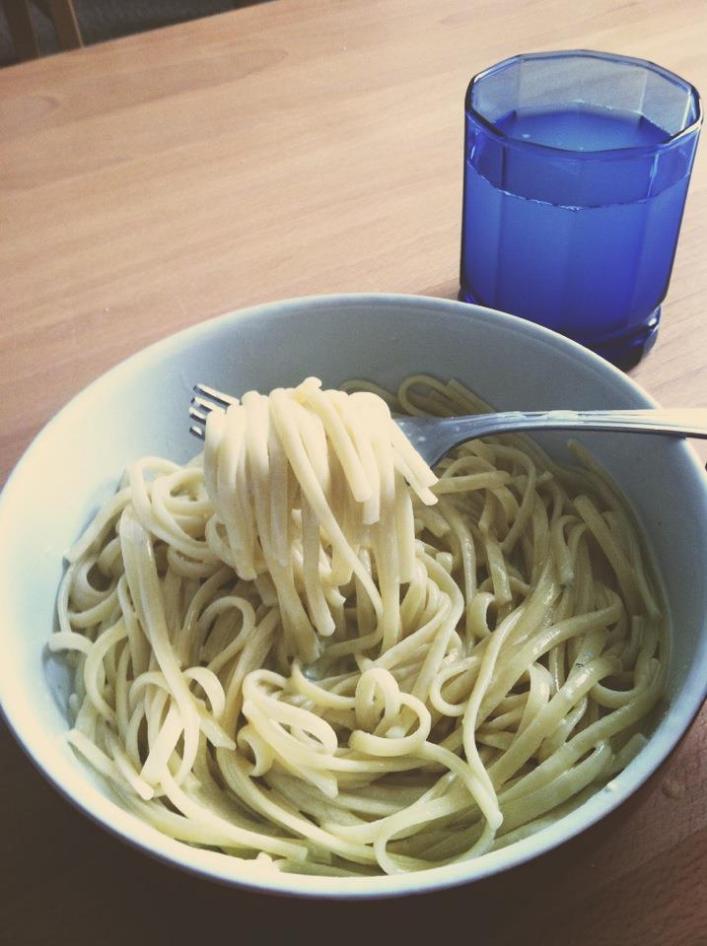
Place the linguini in a medium-sized pot and let it boil. Meanwhile, while the pasta is boiling, pour 1/4 cup of whipping cream and the blue cheese in a separate small pot. Whisk together. 

That’s it. It’s really that easy. It literally takes 10-15 minutes until you can eat it. Given, it’s not as quick as a 5-minute frozen food meal you can purchase from Food Lion or Wal-mart, but hey, you made it all by yourself. You can pat yourself on the shoulder.

ImageImage

Almond Cake with Lemon and Creme Fraiche Glaze

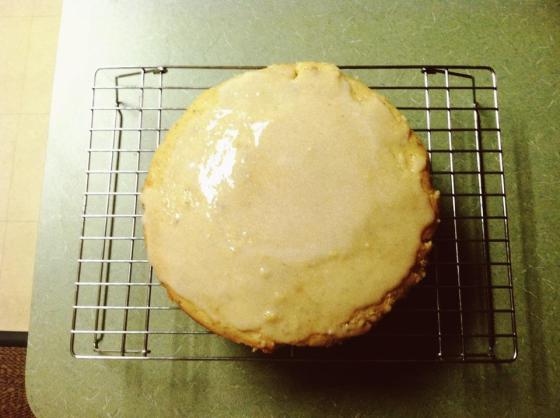
I am part of the Pinterest social sphere and since I aspire, like all Pinterest-ites, to do all the things I pin, I recently completed a recipe I found here. It was done hurriedly between classes and shopping for all the ingredients was quite an adventure as I had to peruse three different grocery stores. However, with this being my first pie/cake/dessert I’ve ever made, I felt extremely proud of myself. The compliments of the guinea pigs that tried my first pie was certainly encouraging. It didn’t turn out exactly like it’s pictured (obviously), but it certainly turned out better than I have envisioned in my mind.

CAKE

  1. 1 stick unsalted butter, melted and cooled, plus more for the pan
  2. 1 cup unsalted raw almonds
  3. 1 1/3 cups all-purpose flour
  4. 1/2 cup instant polenta
  5. 1 tablespoon baking powder
  6. 1 teaspoon minced rosemary
  7. Finely grated zest of 1 lemon
  8. 1/2 teaspoon salt
  9. 4 large eggs, at room temperature
  10. 1/2 cup granulated sugar
  11. 3/4 cup crème fraîche

SYRUP

  1. 1/2 cup water
  2. 1/2 cup granulated sugar
  3. 1 tablespoon fresh lemon juice

GLAZE

  1. 1/2 cup confectioners’ sugar
  2. 1/4 cup crème fraîche

CAKE:

Spread the almonds on a rimmed baking sheet and bake for about 4 minutes, until they are slightly fragrant. Let the almonds cool completely, then coarsely chop them. In a food processor, pulse the almonds until they are finely ground but not pastyIn a large bowl, whisk together the ground almonds, flour, polenta, baking powder, rosemary, lemon zest and salt.
In the bowl of a standing electric mixer fitted with the whisk, combine the eggs and sugar and beat at medium-high speed until tripled in volume, 10 minutes. With the mixer at low speed, add the crème fraîche, then drizzle in the melted butter just until incorporated. Using a rubber spatula, gently fold the egg mixture into the dry ingredients in 3 batches. Scrape the batter into the prepared pan and bake for about 25 minutes, until a toothpick inserted in the center of the cake comes out clean.

SYRUP:

In a small saucepan, combine the water, sugar and lemon juice and boil for 5 minutes. Let cool.
Set the hot cake on a rimmed baking sheet and pour the syrup evenly over it. Let the cake cool completely. Remove the side and bottom of the pan and transfer the almond cake to a platter.

GLAZE:

In a medium bowl, whisk together the confectioners’ sugar, crème fraîche and lemon juice until smooth. Spread the glaze all over the top of the cake. Let stand until the glaze sets slightly, then cut into wedges and serve.

It turned out to be extremely delicious. I apologize for poor lighting (I finished it at 10pm). Take my word for it, bring your friends in a circle and share it because people will be hounding your door for more treats.

Baked Potatoes and Grilled Chicken

It may seem that this meal is easy, without much labor, and that it can be made quite quickly, and while the majority of that phrase is true, it’s not usually made in a common dorm room. Why, you may ask? It is perchance that I have a privilege of living in an apartment style dormitory, and second, because people want the quick, easy, more, and cheap. I, on the other hand, prefer the fine art of cuisine done properly.

Ingredients:

boneless chicken breast (thawed for at least 24 hours)
Italian seasoning
salt
pepper
olive oil
russet potatoes

Before you begin cultivating your lunch or dinner, take the chicken out of the freezer and let it thaw out overnight and throughout the day. Then, when it is fully thawed out, place the chicken breast on a regular sized plate. If the chicken is large in size, chop it to the preferred size. Lather the meat in olive oil. Administer salt and pepper evenly. Sprinkle Italian seasonings. (McCormick has Italian seasonings as a single spice, but using individual Italian seasonings–oregano, thyme, rosemary–will work just as well. After adding the condiments, seal the plate and allow it to sit overnight. The spices sink into the meat, bringing the flavors to life. This extra step will make all the difference in the chicken when it’s been grilled and ready to eat. It will be so tasty. The next day, place the chicken on the grill until it is a nice golden brown.

Since chicken is not meant to be eaten alone, cut and peel the potatoes and place them in a pot. Let it boil 10-15 minutes until they are tender. Let the potatoes cool for about 5-8 minutes. As the potatoes are cooling, preheat the oven at 425 F. Using a casserole dish, sprinkle olive oil on the bottom of the dish. Place the potatoes face down in the dish, applying the desired condiments and herbs. Put it in the oven for 20-25 minutes until they are lightly golden.

La premier fois

To anyone who is reading this, please be advised that this blog is dedicated to those who desire to live in university as though it is a fashionable and feasible precursor to life. It is not uncommon for students to not survive off Ramen noodles, Cici’s pizza, or Great Value. For that reason, this blog will feature my chronicles as I venture university eating European cuisine that accommodates my busy and compact schedule.